
Refreshing Watermelon Pops: A Perfect Summer Treat
As the sun shines brighter and temperatures soar, the craving for cool, refreshing treats becomes almost irresistible. Frozen treats are a quintessential part of summer, offering a delightful way to beat the heat and enjoy the season. Among the myriad of options available, watermelon pops stand out as a particularly enticing choice. These frozen delights are not only delicious but also embody a healthy, guilt-free indulgence that can be enjoyed by all ages.
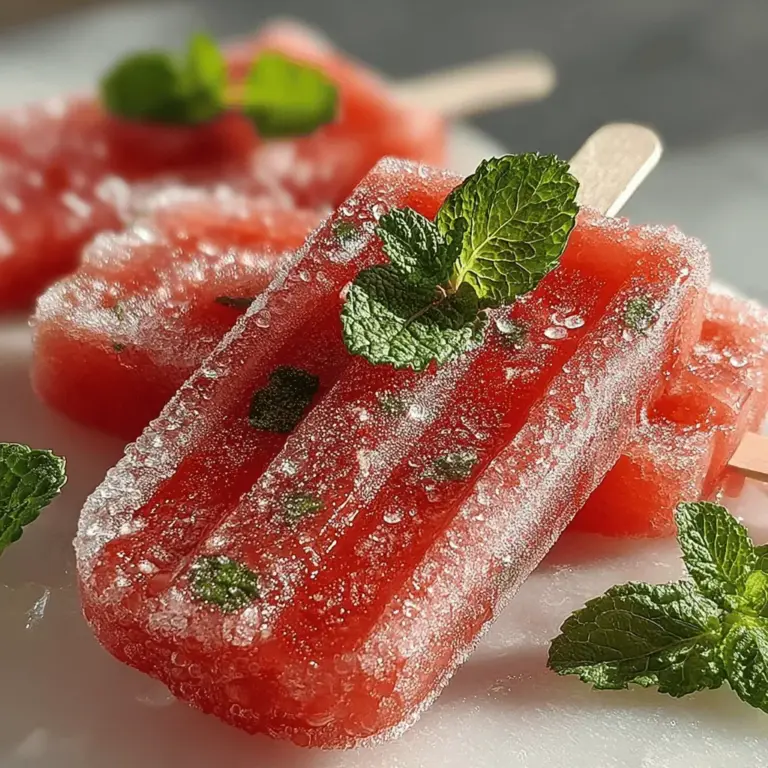
Watermelon pops are a simple yet satisfying dessert made from the sweet, juicy flesh of watermelon, often enhanced with zesty lime juice and fresh mint. This recipe not only celebrates the natural sweetness of watermelon but also incorporates beneficial ingredients that elevate the overall flavor and nutritional profile of the pops. With the added bonus of being incredibly easy to make, it’s no wonder that watermelon pops have gained popularity as a go-to summer treat.
Understanding the Appeal of Watermelon Pops
Nutritional Benefits of Watermelon
Watermelon is more than just a sweet, hydrating fruit; it is packed with essential nutrients that contribute to your overall health. A remarkable aspect of watermelon is its high water content, which makes up about 92% of its weight. This natural hydrating property helps keep the body cool and replenished, making watermelon an ideal snack during hot weather. Additionally, watermelon is low in calories and contains beneficial vitamins and minerals, including vitamin C, vitamin A, potassium, and magnesium.
Hydration Properties Due to High Water Content
One of the most appealing attributes of watermelon is its ability to hydrate. The high water content not only quenches thirst but also supports bodily functions, including digestion and circulation. Eating watermelon can be particularly beneficial for those who struggle to drink enough fluids throughout the day. By transforming this juicy fruit into frozen pops, you can create a fun and enticing way to increase hydration, especially for children who might be less inclined to drink plain water.
The Role of Lime Juice and Mint in Enhancing Flavor
The addition of lime juice and fresh mint elevates the flavor profile of watermelon pops significantly. Lime juice adds a refreshing tartness that perfectly complements the sweetness of the watermelon, creating a balanced flavor that tantalizes the taste buds. Moreover, lime juice is an excellent source of vitamin C, an antioxidant that supports immune function and skin health.
Fresh mint is another key ingredient that not only enhances flavor but also offers health benefits. Known for its digestive properties, mint can aid in digestion and provide a refreshing aftertaste. The combination of lime and mint brings a zesty brightness to the watermelon pops, making them even more enjoyable on a hot summer day.
Why Choose Homemade Popsicles?
Making watermelon pops at home offers several advantages over store-bought frozen treats. One of the most compelling reasons is the control you have over the ingredients. When you make your own popsicles, you can choose fresh, organic ingredients and adjust the sweetness to your liking. This is especially important for those who are mindful of added sugars and artificial flavors commonly found in commercial popsicles.
Additionally, crafting your own watermelon pops can be a fun and rewarding activity. It encourages creativity, allowing you to experiment with different flavor combinations and presentation styles. Creating these delightful treats at home can also be a delightful bonding experience with family and friends, making it more than just a cooking endeavor but a cherished summer memory.
Ingredients Breakdown
To make refreshing watermelon pops, you’ll need just a handful of key ingredients, each chosen for their contribution to flavor and health benefits.
– Seedless Watermelon: When selecting watermelon, look for a seedless variety that is ripe and sweet. The best watermelons have a uniform shape and a dull skin, indicating ripeness. When you tap on the surface, it should produce a deep sound, signaling that it is juicy inside.
– Freshly Squeezed Lime Juice: Fresh lime juice is crucial for achieving the right balance of flavors. Bottled lime juice may contain preservatives that can alter the taste. Aim to squeeze your limes just before use to capture their bright, zesty essence.
– Honey vs. Agave Syrup: When it comes to sweeteners, you have options. Honey offers a rich flavor and natural sweetness, along with beneficial properties such as antioxidants. On the other hand, agave syrup is a plant-based sweetener with a lower glycemic index, making it suitable for those watching their sugar intake. Both options have their pros and cons, so you can choose what best fits your dietary needs.
– Fresh Mint Leaves: While optional, fresh mint leaves can add an invigorating flavor to your watermelon pops. Use them sparingly to enhance the overall taste without overwhelming the natural sweetness of the watermelon.
– Sea Salt: A pinch of sea salt may seem like an odd addition, but it plays a crucial role in balancing flavors. Salt enhances the sweetness of watermelon and lime, creating a more complex and satisfying flavor profile.
Step-by-Step Instructions for Making Watermelon Pops
Now that you have a clear understanding of the appeal and benefits of watermelon pops, let’s dive into the preparation process. The following steps will guide you through creating these delightful frozen treats.
Preparing the Watermelon
To start, you’ll need to prepare your watermelon. Begin by selecting a ripe, seedless watermelon. Cut it in half and scoop out the flesh, discarding any seeds. It’s important to use seedless watermelon for a smoother, more enjoyable texture in your pops.
Once you have the watermelon flesh, cut it into smaller chunks to make blending easier. Place the chunks into a blender or food processor. When blending, aim for a puree consistency that is smooth yet thick enough to hold its shape when frozen. If your puree is too watery, it may not set properly, leading to less-than-ideal pops.
Mixing the Ingredients
After achieving the perfect watermelon puree, it’s time to mix the remaining ingredients. In a large bowl, combine the watermelon puree with freshly squeezed lime juice and your choice of sweetener. The key here is to taste as you go. You want to find a balance between the natural sweetness of the watermelon and the tartness of the lime juice. If you prefer a sweeter pop, feel free to add more sweetener to suit your taste.
If you’ve decided to use mint, chop a handful of fresh mint leaves finely and fold them into the mixture. This will allow the mint flavor to infuse throughout the pops, providing that refreshing twist we love. Finally, don’t forget to add a pinch of sea salt to enhance the overall flavor. This step is often overlooked, but it can truly elevate the taste of your watermelon pops.
By understanding the appeal, benefits, and preparation steps involved in making refreshing watermelon pops, you can create a delightful summer treat that is both enjoyable and nourishing. In Part 2 of this article, we will continue with the remaining steps to freeze the mixture, tips for perfect pops, and suggestions for serving and storing your watermelon pops.
{{image_2}}
Suggestions for Adjusting Sweetness to Personal Preference
When crafting your refreshing watermelon pops, you have the flexibility to adjust the sweetness according to your taste. Watermelon is naturally sweet, but you may want to enhance that sweetness or tone it down based on personal preference. Here are a few methods to consider:
1. Taste Test: Start with a small batch of blended watermelon. Take a spoonful and taste it. If you feel it requires more sweetness, consider adding a natural sweetener like honey, agave syrup, or even a sprinkle of stevia.
2. Citrus Zest: Adding a splash of lime or lemon juice can not only enhance the flavor but also balance the sweetness. The acidity from the citrus can brighten the overall taste of your pops.
3. Sweeteners: If you’re opting for a healthier version, you can use alternatives like monk fruit or erythritol, which provide sweetness without the calories.
4. Flavor Adjustments: If you choose to add other fruits, such as strawberries or kiwi, remember that these fruits come with their own natural sweetness levels. Adjust accordingly based on the flavor profile you desire.
Pouring into Molds
Once you have your watermelon puree ready and adjusted to your liking, it’s time to pour it into your popsicle molds. Here are some tips for a successful process:
Tips on Selecting the Right Popsicle Molds
Choosing the right popsicle molds can make a significant difference in the ease of use and the quality of your pops. Look for molds that:
– Are made from food-grade silicone: These are easier to remove and clean.
– Have a sturdy base: This prevents spills during the freezing process.
– Feature a variety of shapes: Fun shapes can make your pops more appealing, especially for kids.
Importance of Leaving Space for Expansion While Freezing
When pouring the watermelon mixture into the molds, it’s important to leave some space at the top. Liquids expand when they freeze, and leaving about half an inch of space can prevent the pops from overflowing and making a mess in your freezer.
Inserting Sticks
Now that your molds are filled with the delicious watermelon puree, it’s time to insert the sticks.
Correct Technique for Centering Popsicle Sticks
To ensure that your popsicle sticks remain centered while freezing, follow these steps:
1. Insert Partially: Insert the sticks into the molds right after pouring the mixture. Typically, you want to push them down until they are about halfway in.
2. Rest on the Mixture: If your mixture is thick enough, it will hold the sticks in place as it freezes. Ensure that each stick is vertically aligned for uniform pops.
Alternatives to Traditional Popsicle Sticks
If you don’t have traditional popsicle sticks on hand, there are several alternatives you may consider:
– Plastic or Metal Spoons: These can double as sticks and can be reused after washing.
– Skewers: Wooden skewers are great for larger pops and add a fun element.
– Candy Sticks: For a sweet twist, candy sticks can serve as a fun edible option.
Freezing the Popsicles
Before you can enjoy your watermelon pops, they need to freeze properly.
Recommended Freezing Time for Optimal Results
For best results, freeze your popsicles for at least 4 to 6 hours. If you can, overnight is even better. This ensures that they are fully solid and won’t melt too quickly when you take them out.
Tips on Ensuring Even Freezing
To achieve even freezing, here are a few tips:
– Don’t overcrowd your freezer: Ensure that there is enough space around the popsicles for air to circulate. This helps them freeze evenly.
– Check the temperature: Make sure your freezer is set to 0°F (-18°C) or lower for optimal results.
Unmolding and Serving
After patiently waiting for your pops to freeze, it’s time to enjoy them!
Techniques for Easily Removing Pops from Molds
To remove your watermelon pops from the molds without breaking them:
1. Warm Water Bath: Hold the molds under warm running water for a few seconds. This will slightly melt the outer layer of the pops and help them slide out easily.
2. Twist and Pull: Gently twist the mold while pulling the pop out. This can help release any suction and make it easier to remove.
Creative Serving Suggestions
Presentation can elevate your homemade popsicles. Here are a few creative serving ideas:
– Garnish with Fresh Mint: Place a sprig of mint on the plate for a refreshing and aromatic touch.
– Serve with Dipping Sauce: Consider making a yogurt or chocolate dip as a fun accompaniment.
– Fruit Platter: Serve your watermelon pops alongside a colorful platter of fresh fruits for a visually appealing dessert spread.
Variations and Customizations
One of the best parts of making watermelon pops is the ability to customize them to your liking.
Exploring Flavor Combinations
Experiment with different flavor combinations to find your perfect mix:
– Mixed Fruit Popsicles: Blend watermelon with other fruits like strawberries, kiwi, or mango for a fruity explosion in every bite.
– Herb Infusion: Adding herbs like basil or mint can create a unique flavor profile. Simply muddle the herbs with the watermelon before blending.
Adjusting Sweetness and Texture
You can also play with the sweetness and texture to cater to dietary preferences:
– Sugar-Free Options: Using natural sweeteners or pureed fruits can help you create a delicious, sugar-free alternative.
– Creamy Texture: For a creamier pop, blend in a little yogurt or coconut milk. This not only adds a delightful richness but also enhances the nutritional value.
Health Benefits of Watermelon Pops
These refreshing watermelon pops are not just delicious; they also come with several health benefits:
– Low-Calorie Dessert Option: Compared to traditional ice creams, watermelon pops are a light and guilt-free treat that satisfies your sweet tooth without the extra calories.
– Hydration Boost: Watermelon consists of about 92% water, making these pops an excellent way to stay hydrated, especially during hot summer days.
– Nutrient-Rich: With natural ingredients, you’re providing your body with vitamins A and C, antioxidants, and other beneficial nutrients found in fresh fruits.
Conclusion
Making watermelon pops at home is a simple and enjoyable process that allows you to create a refreshing treat that’s perfect for warm weather. Not only do these pops offer a delightful way to cool off, but they also provide the opportunity to explore a variety of flavors and ingredients tailored to your preferences.
Remember, the joy of homemade frozen treats lies in the creativity and experimentation you bring to the kitchen. Whether you opt for classic watermelon or venture into mixed fruit combinations, each batch you create can be unique. So gather your ingredients, invite friends or family to join in the fun, and indulge in the satisfaction of crafting your own healthy and delicious frozen pops!
