Introduction
Garlic bread is a beloved classic that graces tables across the globe, renowned for its comforting aroma and rich flavor. This simple yet satisfying side dish has become a staple in many households, often accompanying pasta dishes, soups, and salads. However, what if we could elevate this timeless favorite to a whole new level?
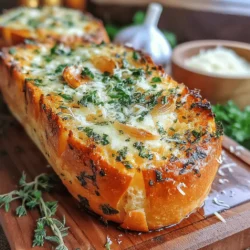
Enter Buttery Herb Roasted Garlic Bread—a delightful twist that combines the traditional essence of garlic bread with an infusion of fresh herbs and the richness of roasted garlic. This recipe promises to be a showstopper at any dinner or gathering, making it not just a side dish but a centerpiece of your meal.
Perfect for family dinners, festive gatherings, or even a cozy night in, this buttery herb creation will leave your guests asking for seconds. Ready to embark on a culinary journey? Let’s dive into the details!
Recipe Overview
– Total Time: 30 minutes
– Servings: 4–6
– Difficulty: Easy
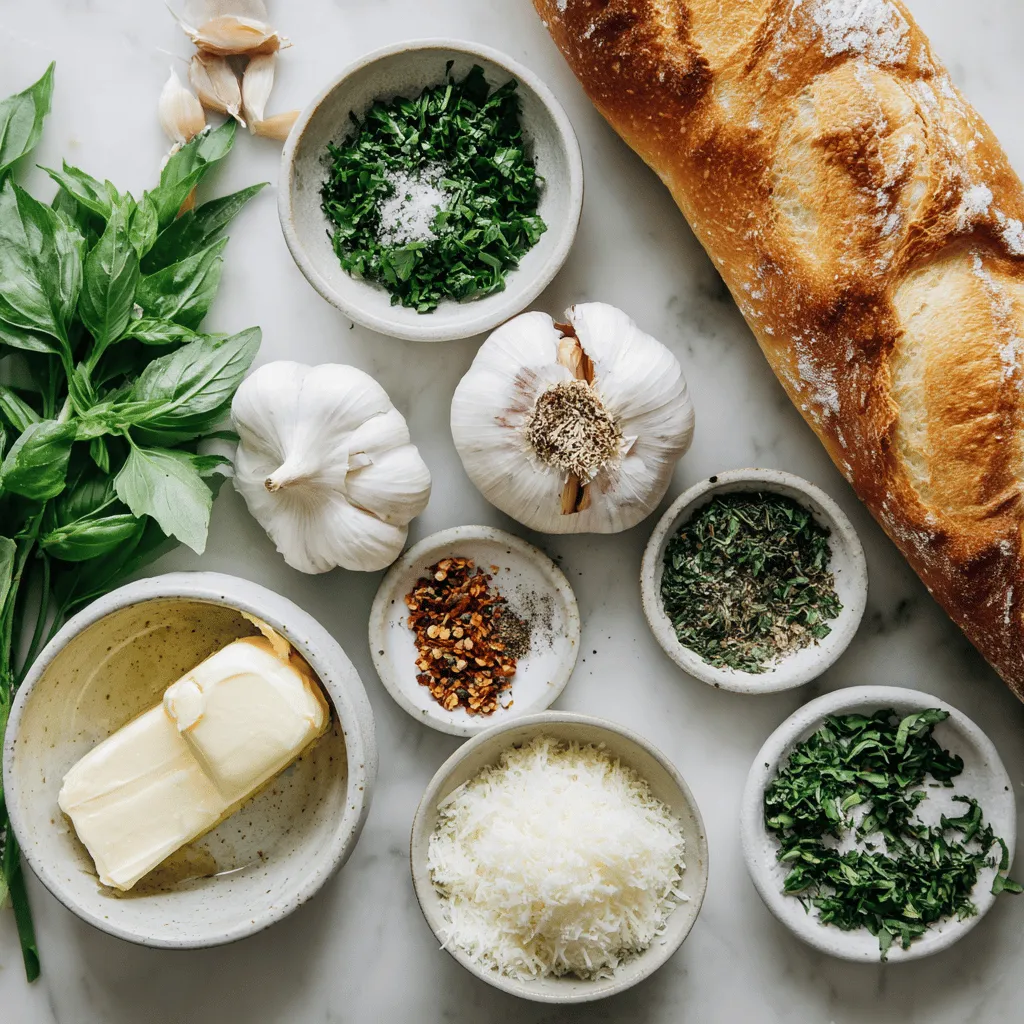
Ingredients
– 1 large baguette or rustic loaf
– 1/2 cup unsalted butter, softened
– 1 head of garlic
– 1 tablespoon fresh parsley, chopped
– 1 tablespoon fresh basil, chopped
– 1 tablespoon fresh oregano, chopped
– Salt, to taste
– Optional: 1/4 cup grated Parmesan cheese
– Optional: Red pepper flakes, for a hint of heat
Instructions
1. Preheat your oven to 400°F (200°C).
2. Slice the top off the head of garlic and drizzle with a little olive oil. Wrap it in aluminum foil and roast in the oven for about 20–25 minutes, or until the cloves are soft and caramelized.
3. While the garlic is roasting, prepare the bread by slicing the baguette or rustic loaf in half lengthwise.
4. In a bowl, combine softened butter, chopped parsley, basil, oregano, and salt. Once the garlic is done roasting, squeeze the cloves into the butter mixture and mash until well combined.
5. Spread the garlic herb butter evenly over the cut sides of the bread.
6. If using, sprinkle grated Parmesan cheese over the buttered bread.
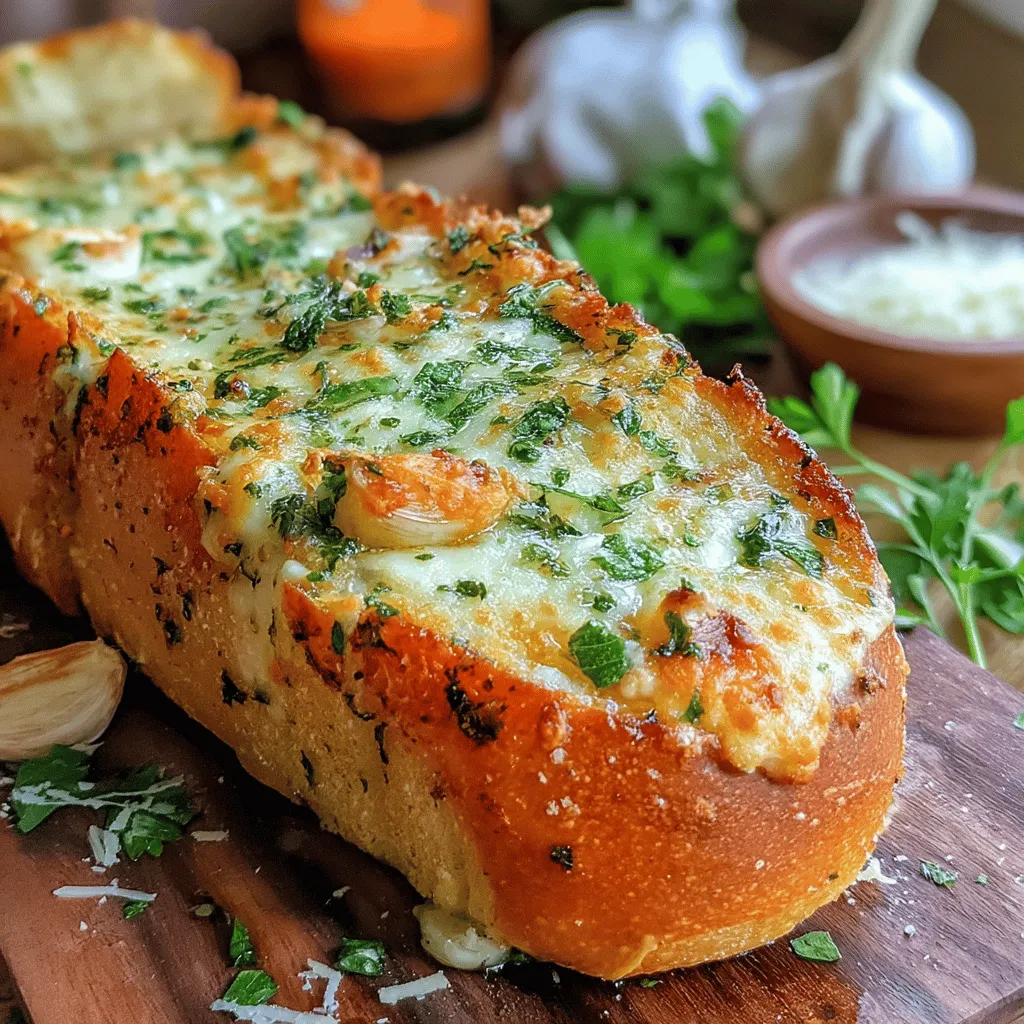
7. Place the bread on a baking sheet and bake in the preheated oven for about 10–12 minutes, or until the edges are golden and crispy.
8. For an extra crispy finish, broil the bread for an additional 1–2 minutes, watching closely to avoid burning.
9. Remove from the oven and sprinkle with red pepper flakes, if desired. Slice and serve warm.
The Allure of Garlic Bread
Garlic bread has its roots in ancient culinary traditions, where bread was often paired with herbs and oils for flavor enhancement. Over time, this humble dish has evolved and diversified, leading to popular variations around the world, each boasting unique flavors and ingredients. The charm of homemade garlic bread lies in its ability to incorporate fresh ingredients, offering a taste that far surpasses store-bought options.
Understanding the Key Ingredients
The foundation of Buttery Herb Roasted Garlic Bread lies in its key ingredients. Choosing the right type of bread is essential; a baguette or rustic loaf provides the perfect texture for holding the rich butter and herbs. Unsalted butter is preferred for its ability to enhance flavor without adding unnecessary salt. Fresh herbs like parsley, basil, and oregano not only add vibrant flavor but also elevate the dish’s aroma.
Roasting garlic transforms its sharpness into a sweet, mellow flavor that is the heart of this recipe. Optional ingredients like Parmesan cheese add a savory depth, while red pepper flakes can introduce a delightful kick. Understanding these components is key to mastering this savory delight.
Preparation Steps Explained
Preparation for Buttery Herb Roasted Garlic Bread involves simple yet effective steps that ensure a perfect outcome. From roasting the garlic to blending the herb-infused butter, each step is designed to maximize flavor and enhance your dining experience. Stay tuned for Part 2, where we’ll explore additional tips and serving suggestions to make your garlic bread even more irresistible!
Prepping the Oven
Before diving into the preparation of Buttery Herb Roasted Garlic Bread, it is crucial to preheat your oven. Preheating ensures that your bread bakes evenly and achieves that perfect golden brown crust. An oven that is not properly preheated can lead to uneven baking, resulting in a soggy interior or burnt exterior. Aim to preheat your oven to 375°F (190°C) for optimal results.
Roasting Garlic
Steps for Perfectly Soft Garlic
Roasting garlic transforms its pungent raw flavor into a sweet, mellow delight. To achieve perfectly soft roasted garlic, take the following steps:
1. Select Fresh Garlic Bulbs: Look for firm bulbs with no soft spots or sprouting.
2. Cut the Tops: Slice off the top of the garlic bulb to expose the individual cloves.
3. Wrap in Foil: Drizzle with olive oil and wrap tightly in aluminum foil.
4. Roast: Place in the preheated oven for about 30-35 minutes or until the cloves are golden and soft when squeezed.
Tips for Achieving Perfection
For an even richer flavor, consider adding a pinch of salt or herbs like thyme before wrapping the garlic. This enhances the flavor profile and adds depth to your garlic bread.
Crafting the Herb Butter
Techniques for Mixing and Flavor Blending
Creating the herb butter is a simple yet essential step in this recipe.
1. Choose Your Herbs: Fresh herbs like parsley, basil, or chives work beautifully. You can also mix dried herbs for convenience.
2. Softening Butter: Ensure your butter is at room temperature for easy mixing. If needed, microwave it for a few seconds, but don’t let it melt.
3. Mix Thoroughly: Combine the softened butter with the roasted garlic, herbs, and a pinch of salt. Blend until smooth, ensuring that the garlic and herbs are evenly distributed.
Slicing the Bread
Optimal Slicing Techniques
For the best serving experience, slice the bread properly. Use a serrated knife for clean cuts, which will help prevent squishing the bread. Aim for slices that are about 1-inch thick, allowing for the ideal amount of butter to be spread while maintaining structural integrity.
Spreading the Garlic Butter
Tips for Even Distribution
To maximize flavor, spreading the garlic butter evenly is key. Use a butter knife to apply a generous amount of herb butter to each slice. For added texture, consider spreading on both sides of the bread before baking.
Baking to Perfection
Wrapping and Baking Methods
Using aluminum foil when wrapping your garlic bread offers multiple benefits. It helps to keep the bread moist while baking, allowing the flavors to meld together beautifully. After the initial bake, unwrap the foil for the last few minutes to achieve a crispy crust.
Achieving a Crispy Finish
To ensure a golden, crispy finish, increase the oven temperature to 400°F (200°C) for the last 5-10 minutes of baking. Keep an eye on the bread to prevent burning, and enjoy the delightful aroma wafting through your kitchen.
Importance of Timing
Timing is crucial in determining when your garlic bread is ready. Generally, it will take about 20-25 minutes to achieve perfect doneness. The bread should be golden brown, and the butter should be bubbling slightly.
Serving Suggestions
Presentation Ideas
For a rustic presentation, serve your garlic bread on a wooden board, garnished with fresh herbs like parsley or basil. This not only enhances the visual appeal but also adds a fresh aroma.
Pairing Options
Garlic bread pairs wonderfully with a variety of dishes. It complements pasta dishes like spaghetti marinara, hearty soups, or even salads. For beverages, consider serving with a robust red wine or a refreshing iced tea.
Storing Leftovers
To keep leftover garlic bread fresh, wrap it tightly in plastic wrap or aluminum foil and store it in the refrigerator. For longer storage, freezing is an option; just make sure to wrap it well to prevent freezer burn.
Conclusion
Making and sharing Buttery Herb Roasted Garlic Bread brings joy to any dining experience. The rich flavors and simple preparation make it a favorite among home cooks and guests alike. We encourage you to try this recipe, as the comfort and satisfaction of homemade garlic bread will enhance any meal. Embrace the warmth of your kitchen and the delight of sharing this beloved dish with family and friends.